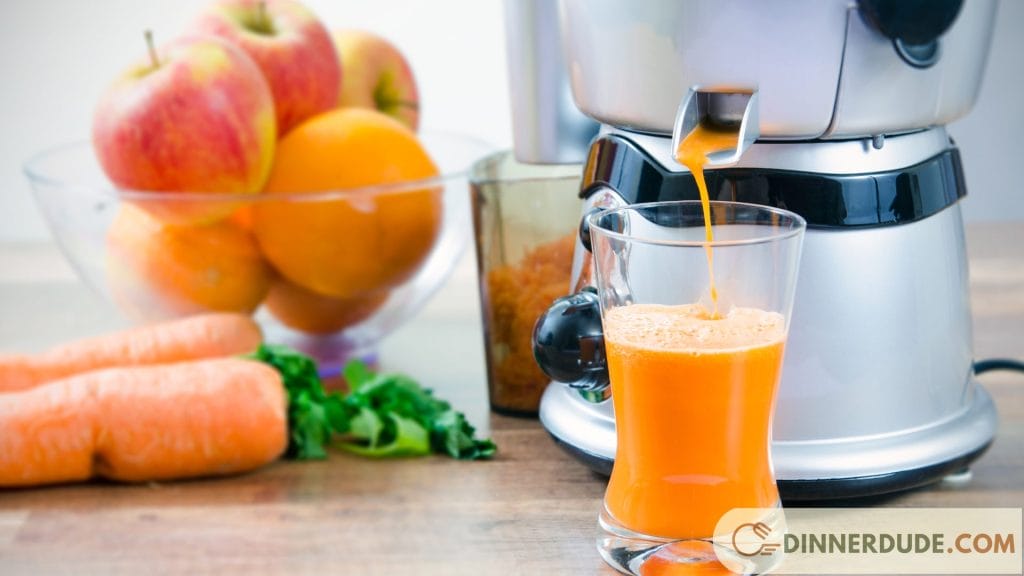
One of the most common questions that people have when they start using a juicer is, “Do I have to clean my juicer after every use?” The short answer is yes. Cleaning your juicer after each use is crucial for several reasons, which Dinnerdude will explore in this article.
Why Clean my Juicer?

Health and Hygiene
The primary reason to clean your juicer after every use is to maintain health and hygiene. When you juice fruits and vegetables, tiny particles can get stuck in the various parts of the juicer.
If left uncleaned, these particles can start to rot and breed bacteria, which can then contaminate your next batch of juice. This could potentially lead to foodborne illnesses.
Maintaining the Quality of Juice
Another reason to clean your juicer immediately after use is to ensure the quality of your juice. Residual pulp and juice left in the machine can dry and harden, making it more difficult to remove later.
Moreover, these remnants can mix with your new ingredients the next time you juice, altering the taste and quality of your fresh juice.
Do I have to clean my juicer after every use ?

Unless you enjoy the idea of sipping fermenting fruits and vegetables from the day before, you should clean your juicer after each usage.
Whatever sort of juicer you use, leftover juice and microscopic bits of pulp can grow bacteria at an alarming pace when kept at room temperature – a guaranteed prescription for foodborne illness.
Regular cleaning will limit the risk of disease and ensure that you never drink a glass of juice that contains fuzzy brown slime.
Yes, we know — some juicers are sophisticated creatures, and cleaning up after juicing may take longer than the juicing itself. The good news is that many juicer parts are dishwasher-safe for easy cleanup. Simply drop ’em in, and pull them out clean for tomorrow’s juice.
A few pantry goods should assist you reach the nooks and crannies for sections that must be hand cleansed or cannot be wet.
6 simple steps for cleaning a juicer

Step 1: Unplug the juicer and disassemble it.
First and foremost, safety! Before cleaning, turn off and disconnect the juicer.
Remove the strainer, grinder, lid, and plunger from the juice and pulp containers.
With a spatula or clean rag, scrape out the pulp container and place the food bits in your compost bin.
Step 2: Soak the juicer parts.
Soak the juicer parts in a sink filled with warm water and a few drops of your favorite dish liquid. Allow the soapy water to saturate the pieces.
If you choose to clean your components in the dishwasher, you should still give them a thorough rinse first.
Step 3: Wash gently.
After soaking for about 10 minutes, gently scrub each piece with a soft-bristled scrub brush.
To reach tight crevices and inside complex components, use a toothbrush or bottle brush.
Step 4: Remove stains
A little baking soda does wonders for enhanced scrubbing power on stubborn stains!
Scrub the discolored area with a dampened cotton cloth dipped in vinegar.
If it doesn’t rinse clean, clean it with baking soda by sprinkling it in and letting it sit for a half hour. Then scrub with a vinegar-soaked cloth and rinse.
Step 5: Scrub the juicer’s base.
Wipe out the juicer’s base with a microfiber towel soaked with water or a little cleaning vinegar.
Using a clean towel, pat it dry. Never immerse the machine’s base in water because it houses the machine’s electric components.
Step 6: Put the juicer back together.
When everything is clean and dry, it’s time to reassemble your juicer!
Put the juice and pulp containers back together, then the strainer, grinder, lid, and plunger.
Now that your juicer has been thoroughly cleaned, it’s time to go back to juicing! Remember that quick cleaning makes a huge difference in the amount of grime you end up having to scrub away.
Fresh pulp and juice quickly wash away with warm water, so if you can’t wash it right away, at the very least give it a nice rinse after juicing.

In conclusion, it is essential to clean your juicer after every use. Not only does this practice maintain the hygiene and safety of your appliance, but it also ensures that you get the best quality juice every time. While it may seem like a hassle, incorporating this step into your juicing routine will help prolong the life of your juicer and provide you with fresh, delicious juice for years to come.